Painting RV Cabinets: Our Experience with Rust-Oleum Spray Paint
Hi! Welcome to Campfire Travelers. Back in 2015, we transformed our little pop-up camper into a shining, clean, and updated home on wheels for less than $1000. We took what we learned and wanted to help others in their own DIY RV renovation. You can learn more here. And if you ever have any questions please feel free to contact us here.
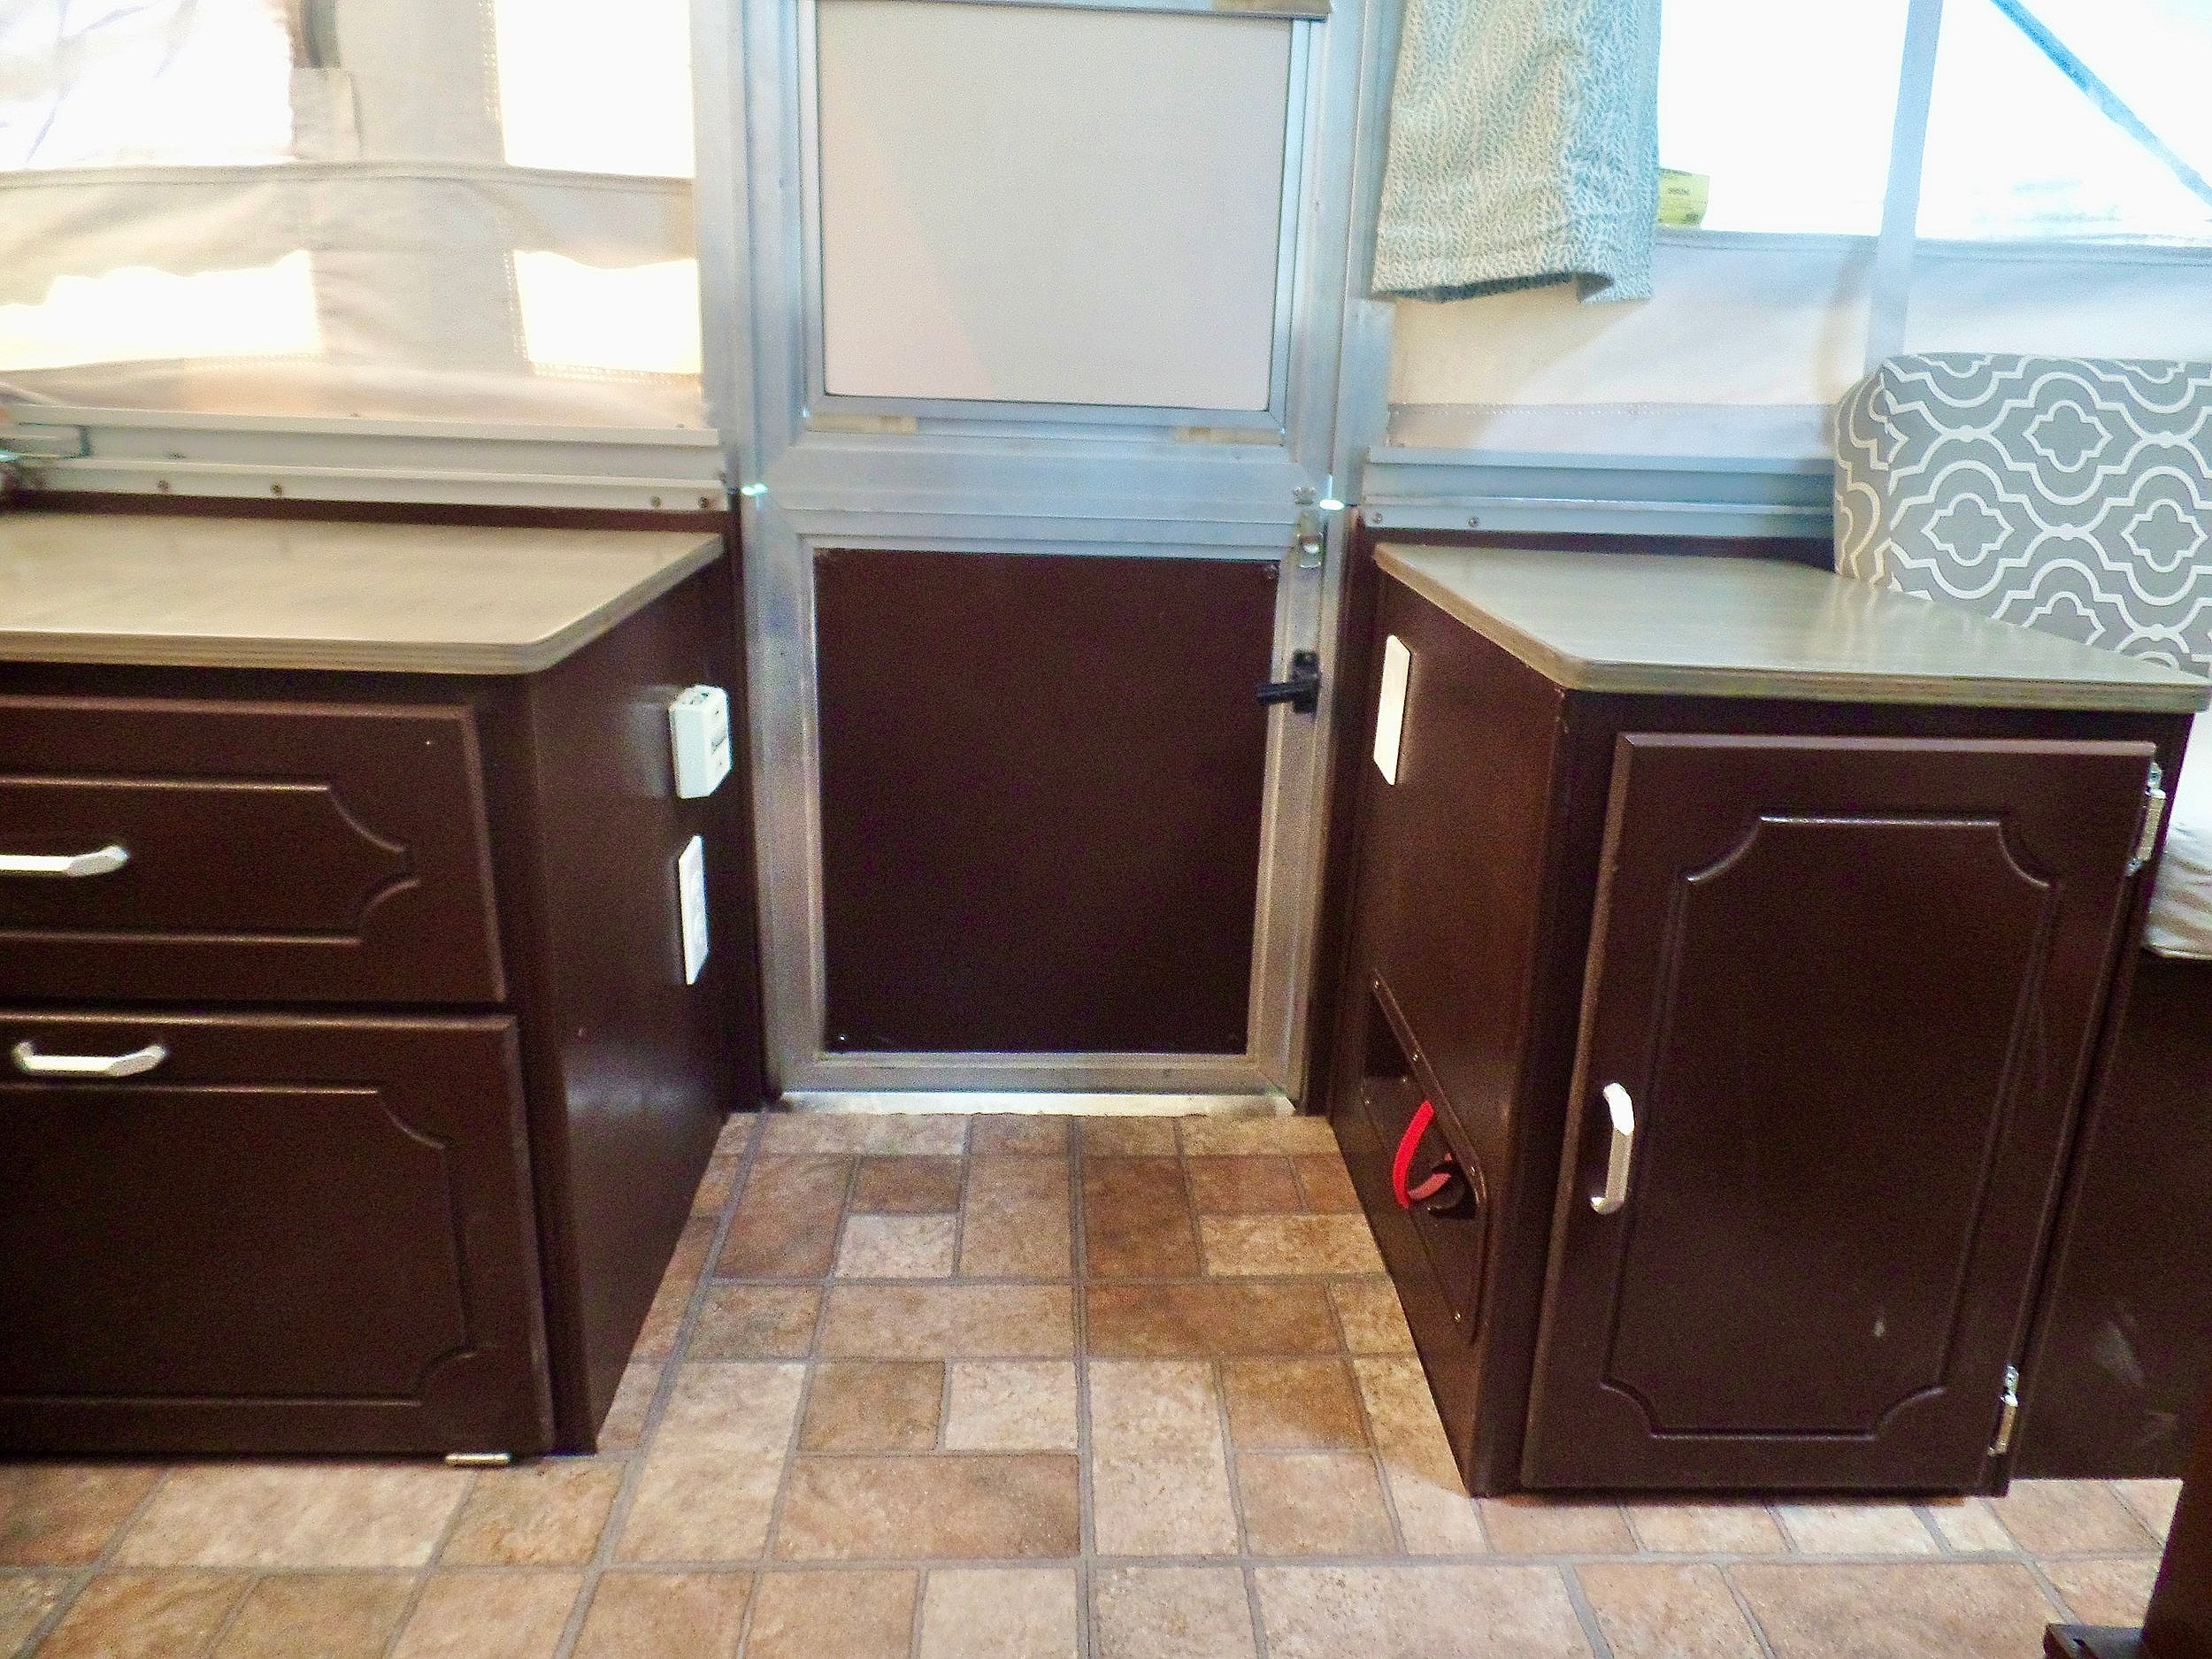
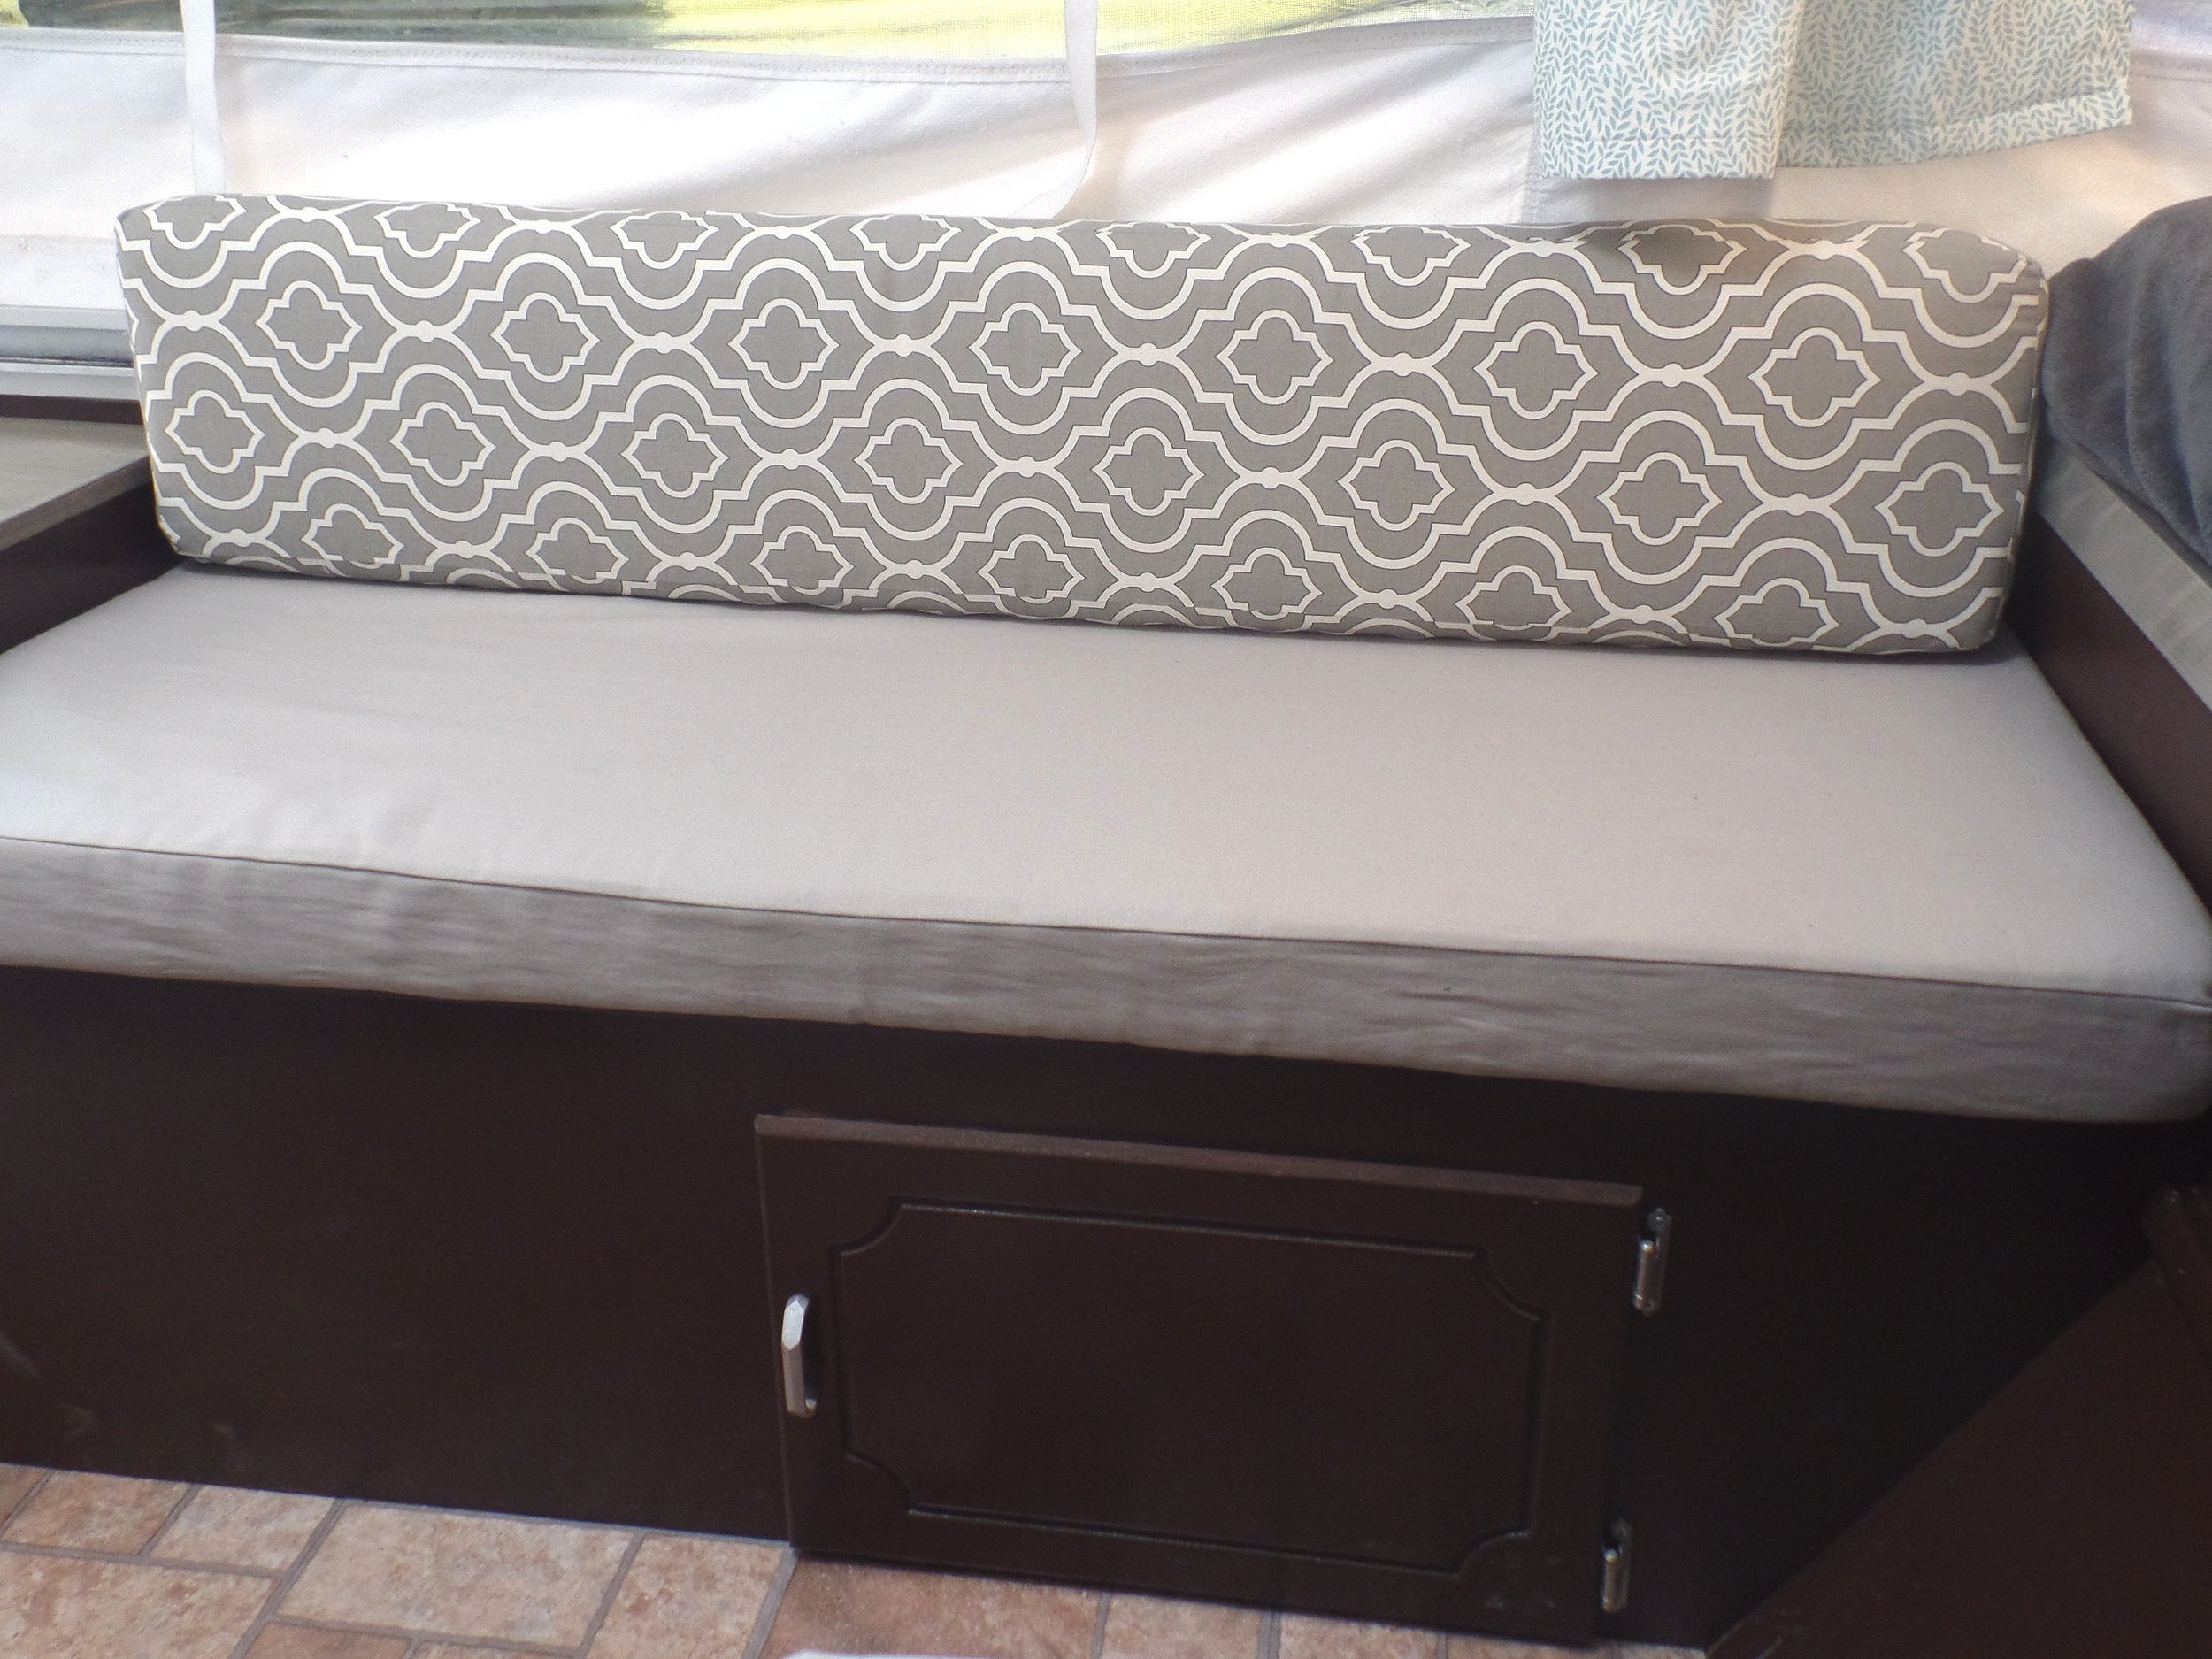
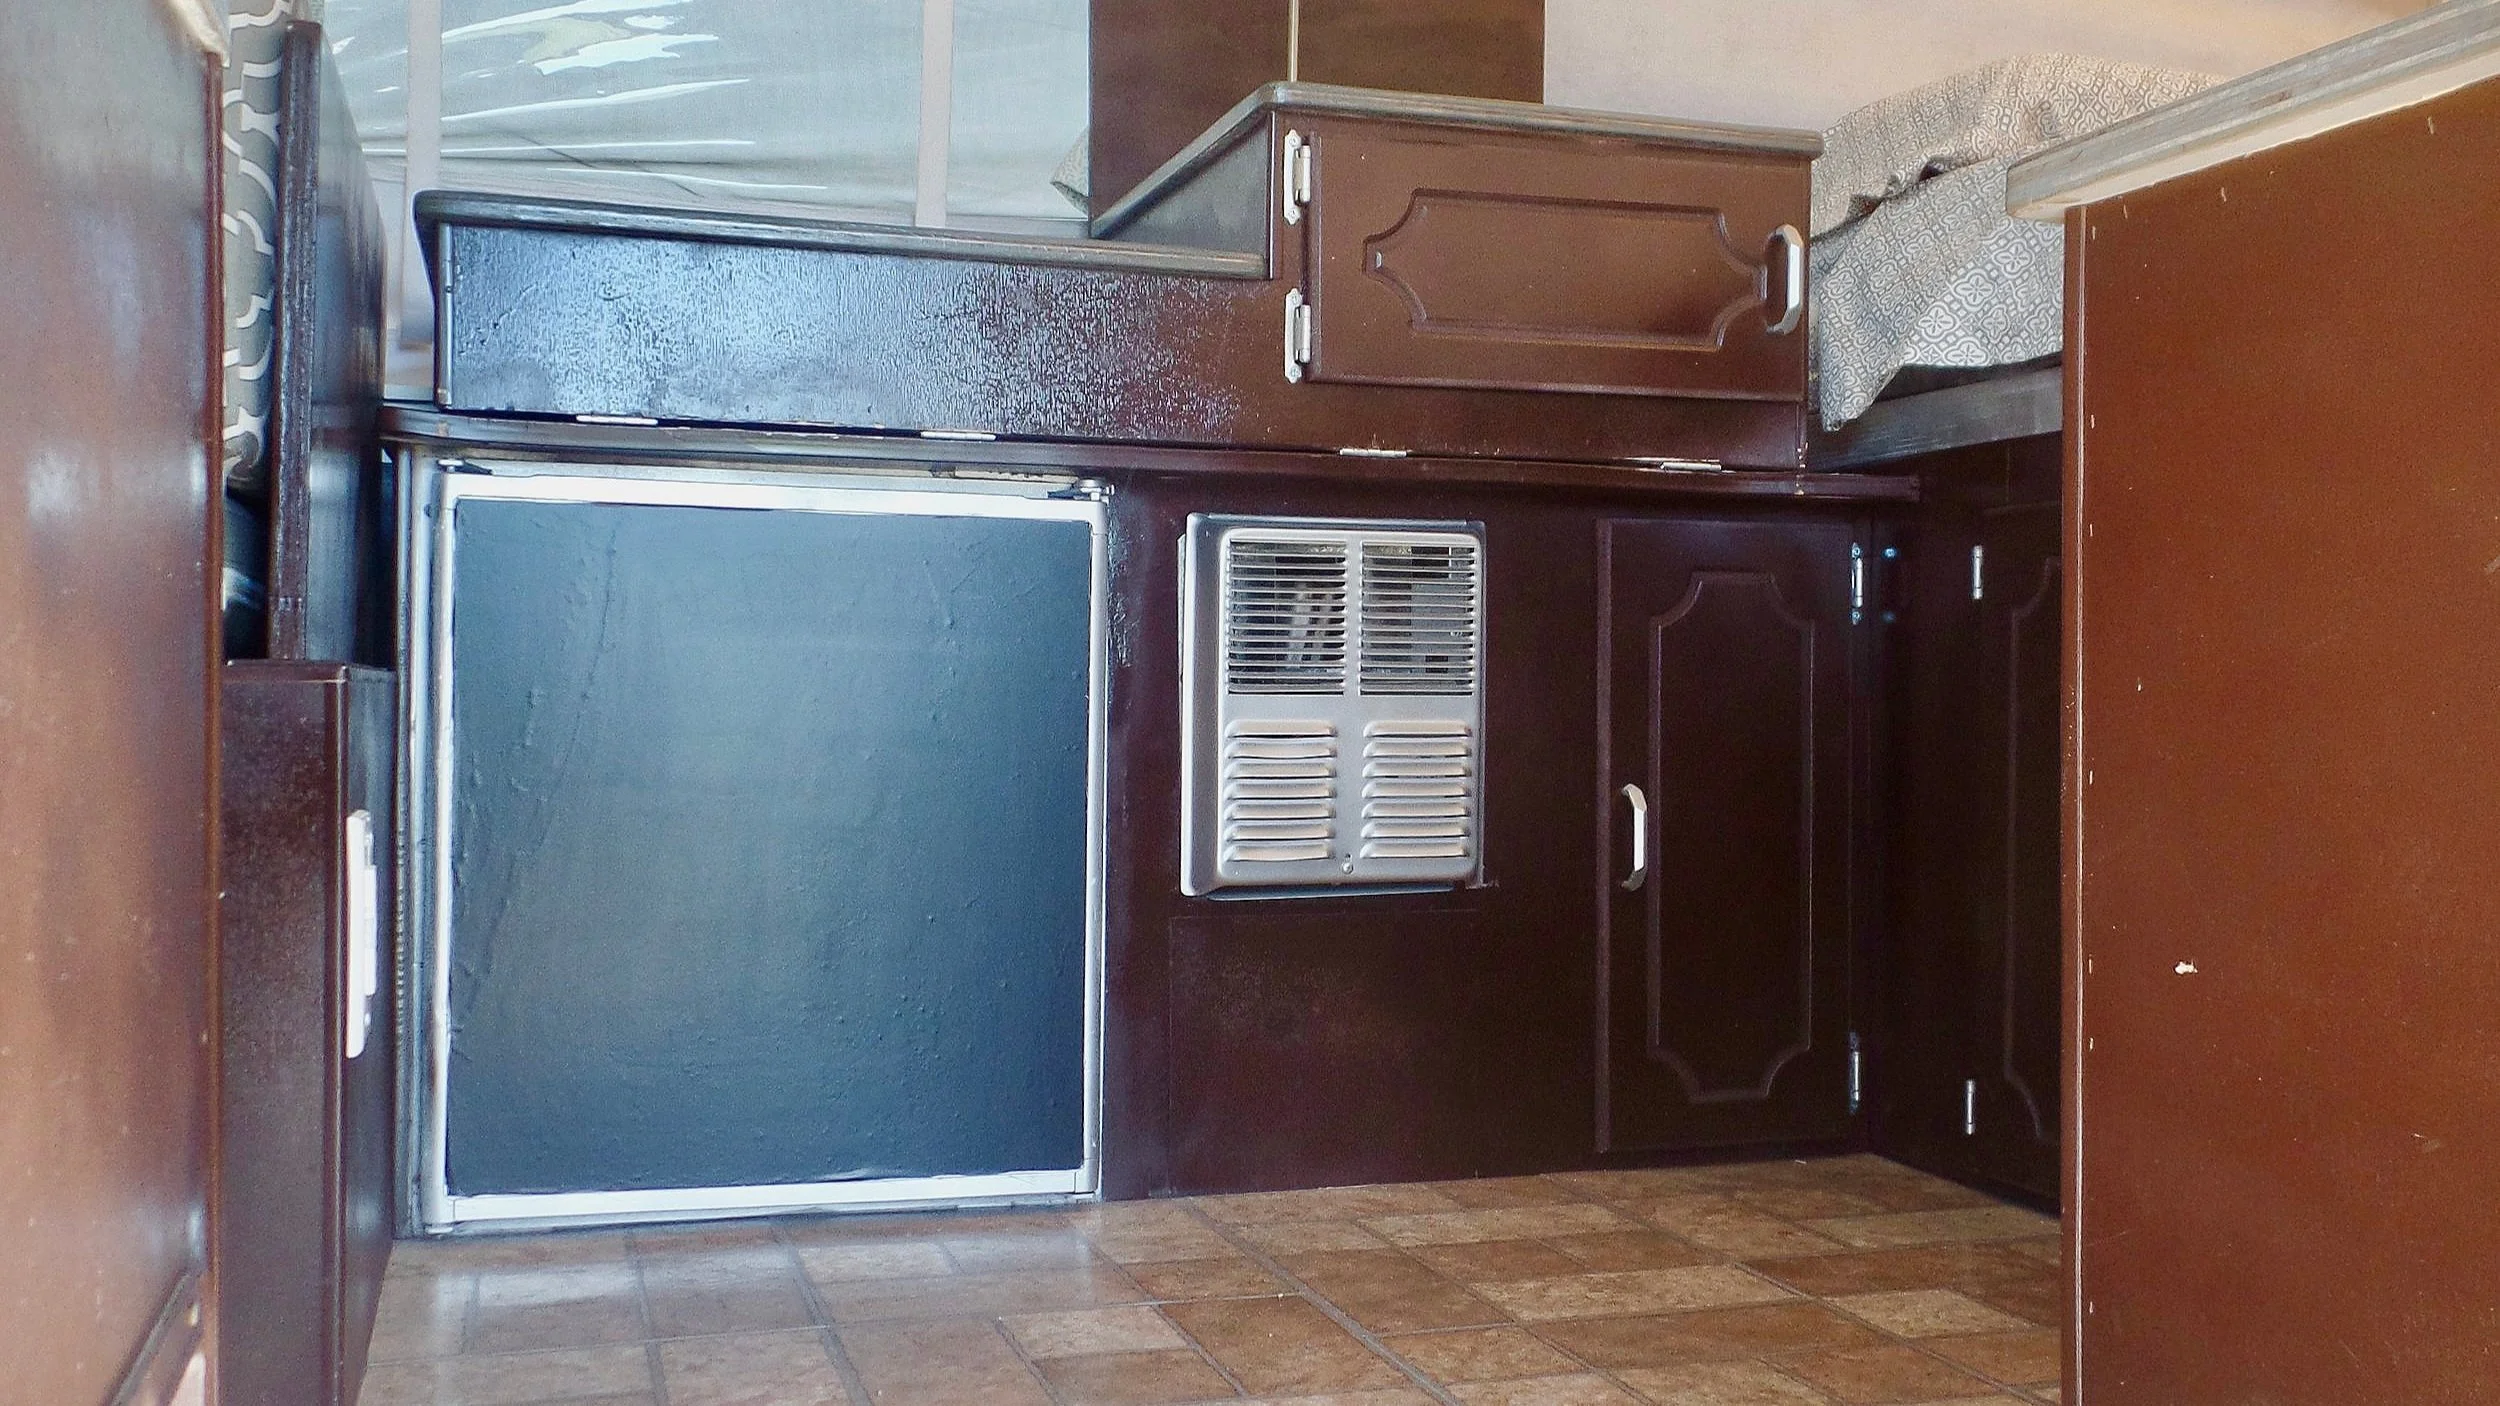
Our 1999 Palomino Stallion pop-up camper was in dire need of a renovation, and the cabinets were no exception. With a limited time frame and a tight budget, we opted to use Rust-Oleum spray paint to give the cabinets a facelift. In this post, we share the steps we took to prepare the cabinets, the challenges we faced, and the final outcome of the project. We hope that our experience with Rust-Oleum spray paint can inspire and guide your own RV renovation.
Now that the canvas is sparkling white we are moving onto the cabinets in our new to us 1999 Palomino Stallion pop-up camper. The late-90's fake honey oak was just not what we had in mind. The cabinets themselves, just like everything else, had not been well maintained and really needed some repair and a facelift.
Having painted our cabinets at home we knew what we were in for. It's a tedious process and often needs touch-ups in the long run, but painting is definitely the fastest and easiest solution for our project. Because these are laminate cabinets sanding won't help and will leave marks. And unfortunately, a cabinet scrubber like a TSP wouldn't have worked for us because our cabinets did have exposed (particle board) wood in the grooves as part of the design. In the end, we scrubbed the cabinets the best we could and said a little prayer.
Now let me tell you, we were on a serious time crunch - our first camping trip in the pop-up was 19 days away and due to our HOA rules, we couldn't have the camper outside for more than two consecutive days at a time. Because of our limitations, we decided to only remove the cabinet doors instead of the whole cabinet altogether. We made minor repairs using wood glue and clamps and we were able to get everything back in working order before moving on. Then we taped and sealed and protected and got started with a Zinsser spray primer.
Side Note: If you don't have much experience with spray paint you should read up first!! Low and slow is the key. Don't try to cover it all with the first coat. There are some great DIY tutorials out there. I like this one and this one.
We decided to go with spray paint because of some issues we had in our kitchen at home with brush marks and getting into the corners. But during a few other home projects, we had great luck with spray paint. So we found a satin espresso Rust-Oleum from Home Depot that matched well to our inspiration.
Here are some steps for spray painting RV cabinets:
Preparation: Clean the surfaces thoroughly, remove any dirt, grease, or oil, and sand to ensure a smooth surface. If the surface has a glossy finish, sand it to dull the surface.
Priming: Apply Zinsser spray primer using light and even strokes. Wait until the primer is dry to the touch before applying a second coat. Allow the primer to dry completely before moving on to the next step.
Painting: Once the primer is dry, apply Rust Oleum spray paint in light, even coats. Wait until each coat is dry to the touch before applying the next. Apply 2-3 coats for full coverage.
Finishing: Allow the paint to dry completely before reassembling the cabinets.
Tips:
Make sure to follow the manufacturer's instructions on both the primer and paint.
Work in a well-ventilated area or use a respirator to avoid inhaling fumes.
Apply multiple thin coats rather than one thick coat to ensure even coverage.
Avoid applying paint in humid or wet conditions, as it may affect the finish.
Cover surrounding areas with a drop cloth or plastic to avoid drips and splatters
Would we spray paint our RV cabinets if we had it all to do again?
I will tell you we went through a ton of spray paint! About 5 cans of primer, 10 cans of espresso, and 4 cans of clear sealer. And keep in mind we really have a lot fewer cabinets than most pop-ups. We easily spent $200 on spray paint. If you are on a budget, spray paint is not the way to go!! Would we use spray paint if we had it all to do again? Yes. I really like the coverage better. And we ended up painting the rubber/plastic molding plus a few other things and regular paint wouldn't have adhered like spray paint.
We still need a few touch-ups and in different lighting, we see different issues. But overall the spray paint is holding up well and is cleaning up well. Which is the most important part! The clear coat we did after made the difference because now we are able to clean the cabinets with a quick swipe of a Clorox wipe.
I can't wait to show you the final result! But you're going to have to wait just a little longer...
The biggest transformation I think came from a few of the other pieces we spray painted - hardware, the furnace cover, and a few other things.
If you’re curious about how we renovated any other parts of our 1999 Palomino pop-up camper please check out the links below or visit our main page here.
The BEST way to clean the canvas
Why we painted the furnace cover
Creating new blackout curtains
Creating a new nightlight and replacing outlets
And if you ever have any questions, please feel free to check out our FAQ to contact us or leave a comment below!
PIN this post for later!
SHARE this post with a friend!


