Creating a Map for Souvenir Travel Enamel Pins: A Step-by-Step Guide
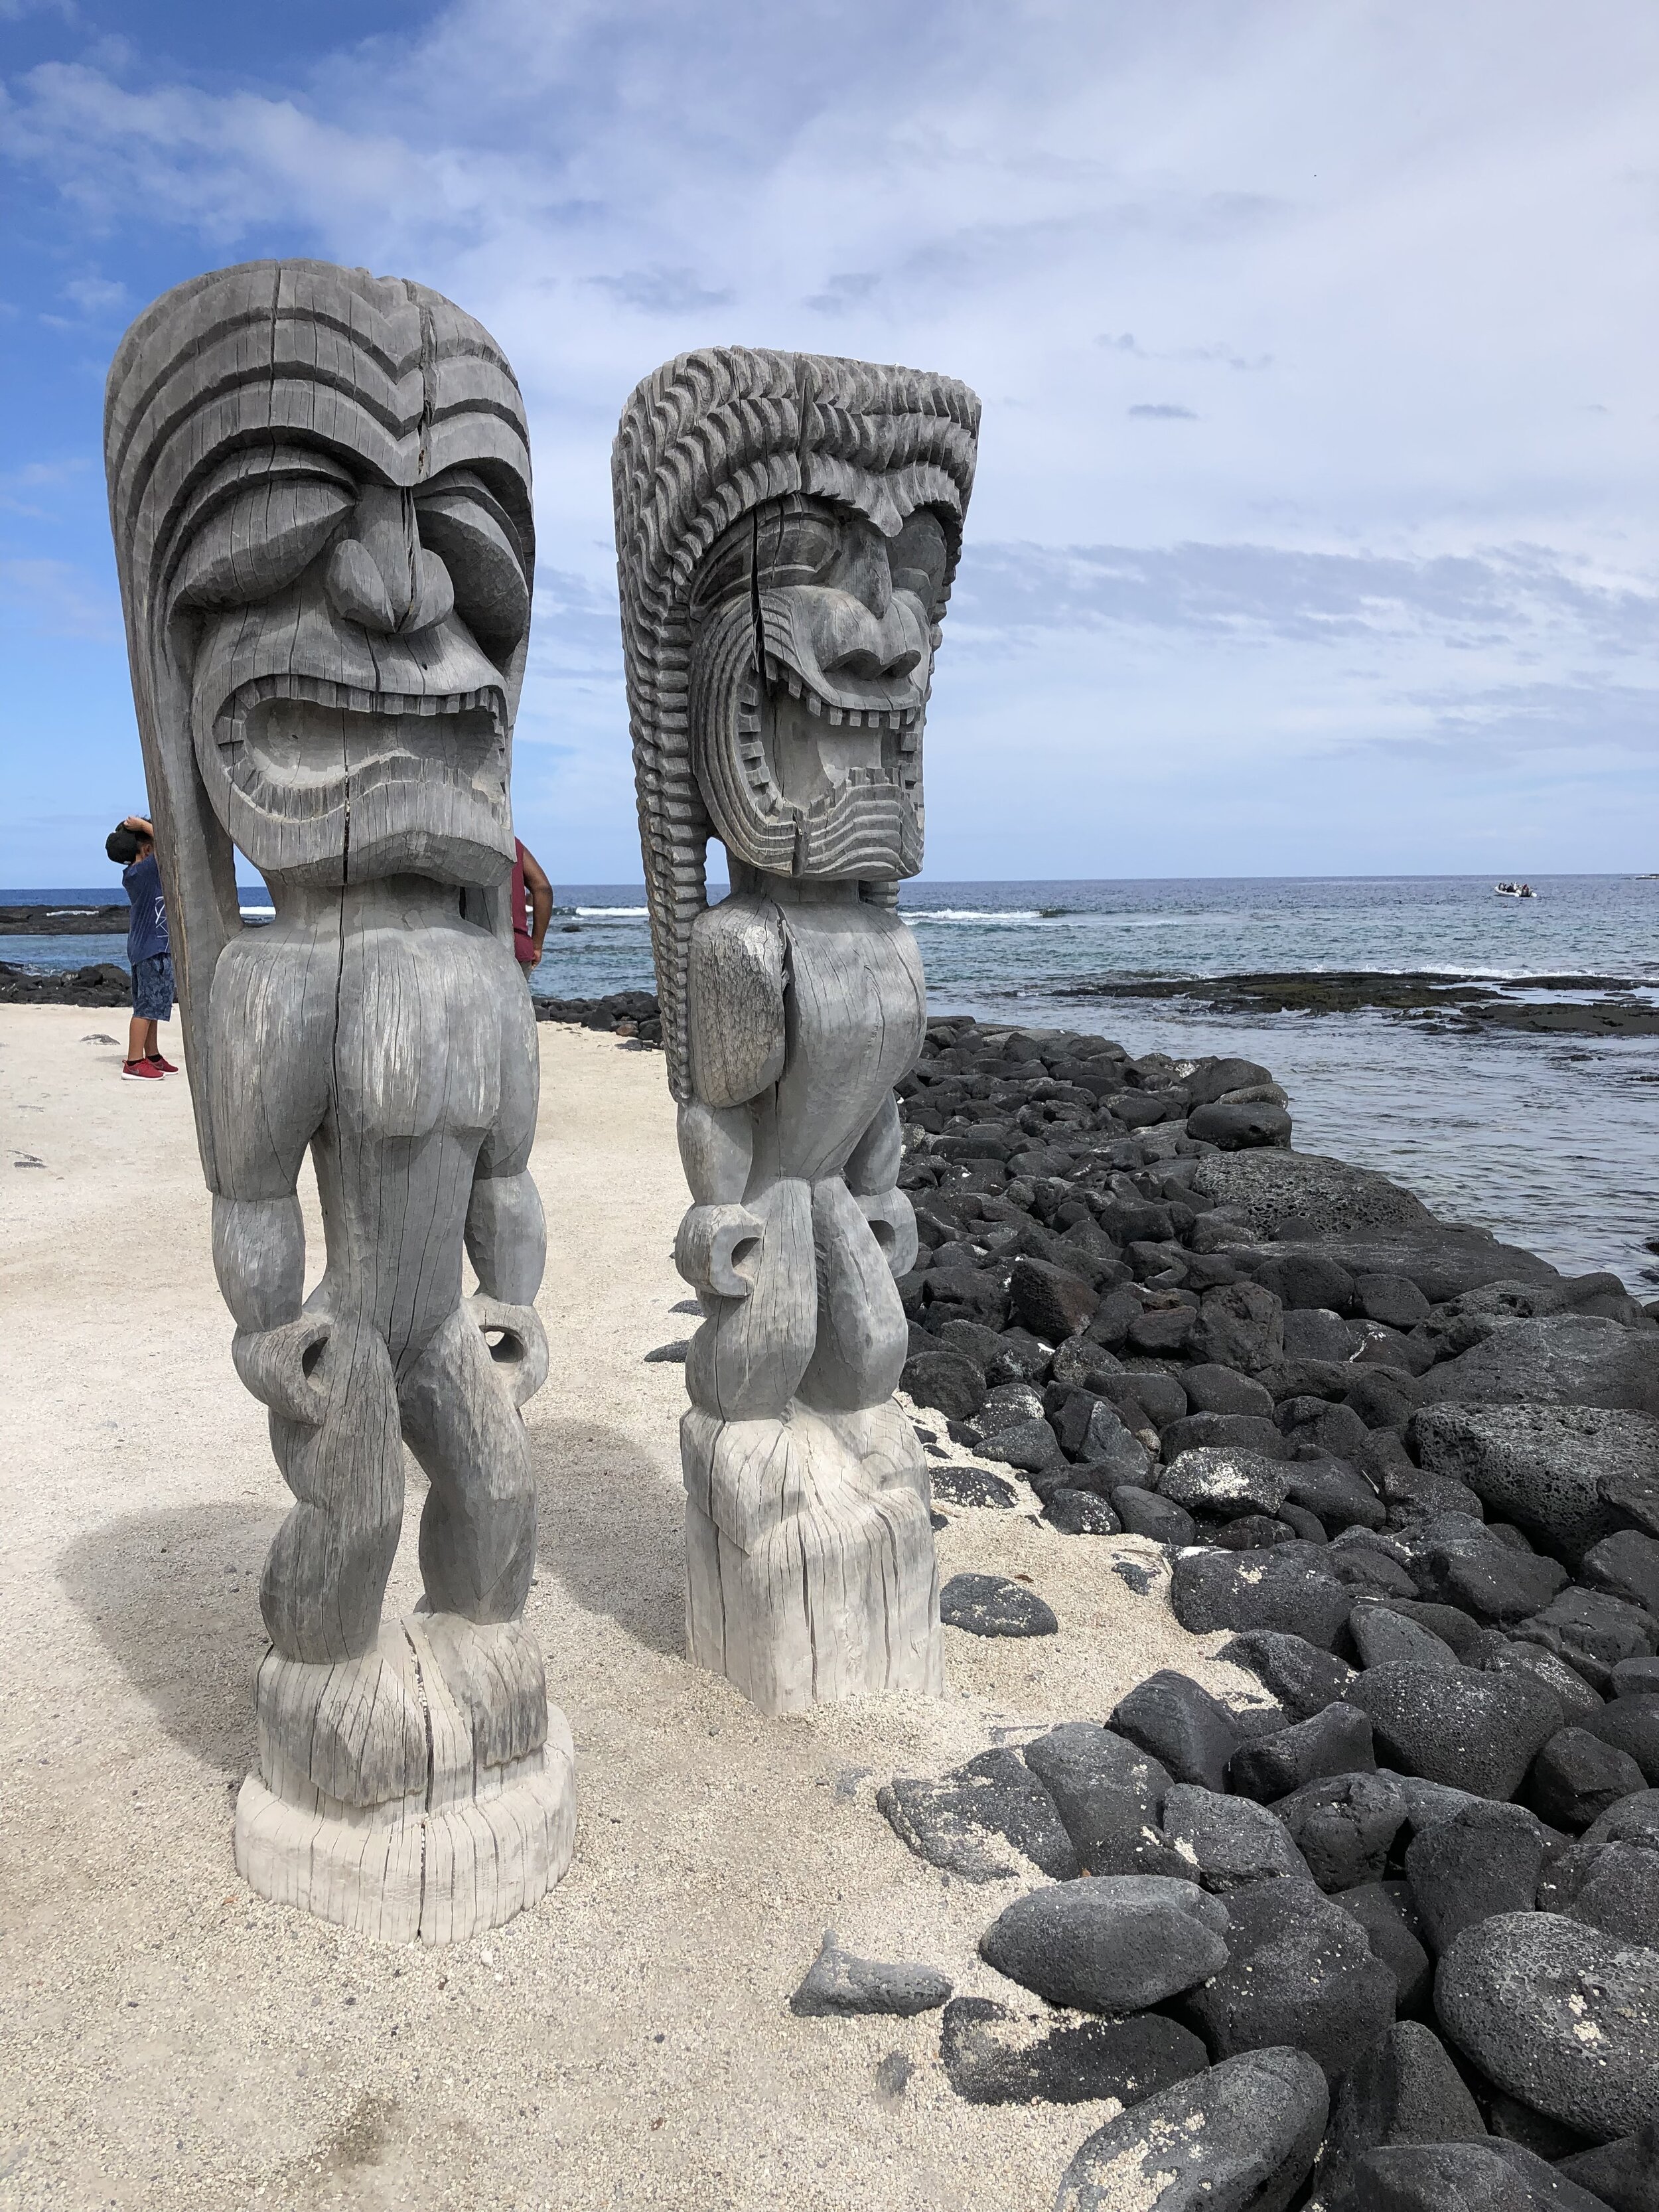
Have you noticed all the pins in nearly every souvenir shop you visit lately? These adorable enamel pins are just a few dollars and can be a cute little reminder of your travels. My sister and I both decided to buy one from every US national park we visit and after just one summer of travel, we had quite a few already. The next question was what do we do with them? How to display them to remember our adventures.

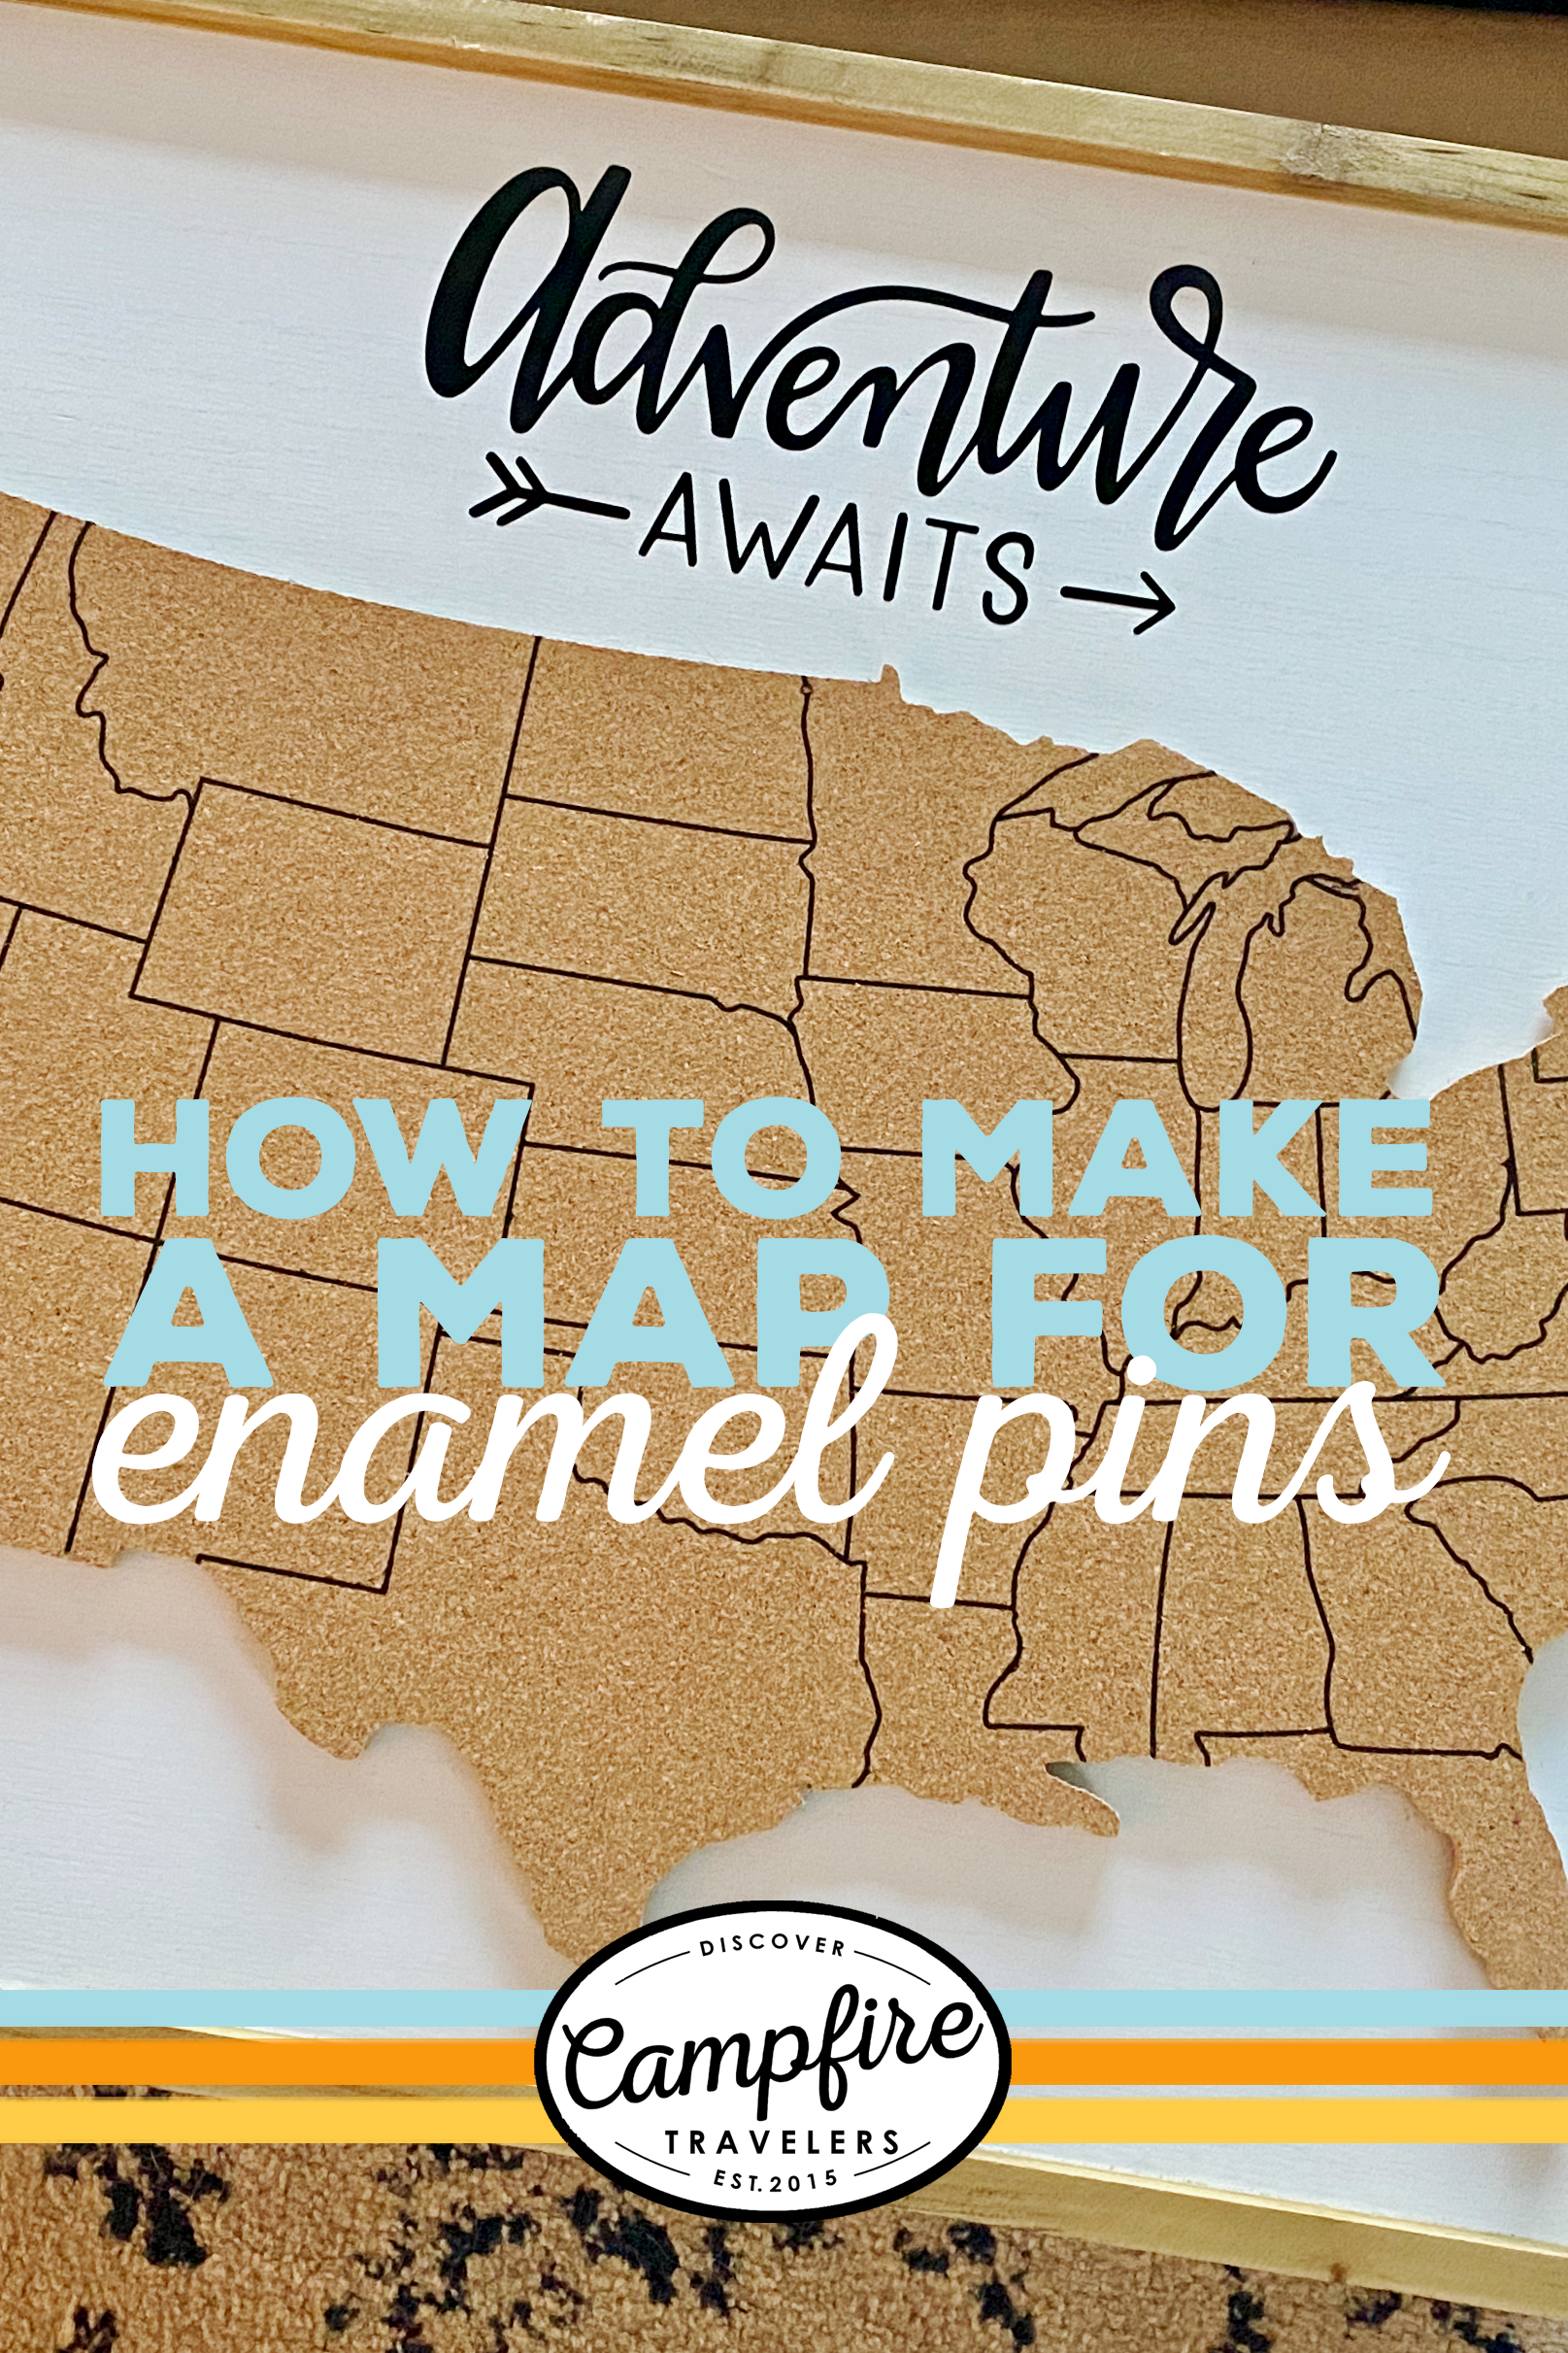
One day I was walking around Hobby Lobby and I had a great idea. A map pinboard! Just like the tack board maps you see, I thought it would be cute to put the pins into the locations we visited. I walked around and found exactly what I needed and was happily surprised the supplies only cost about $30.
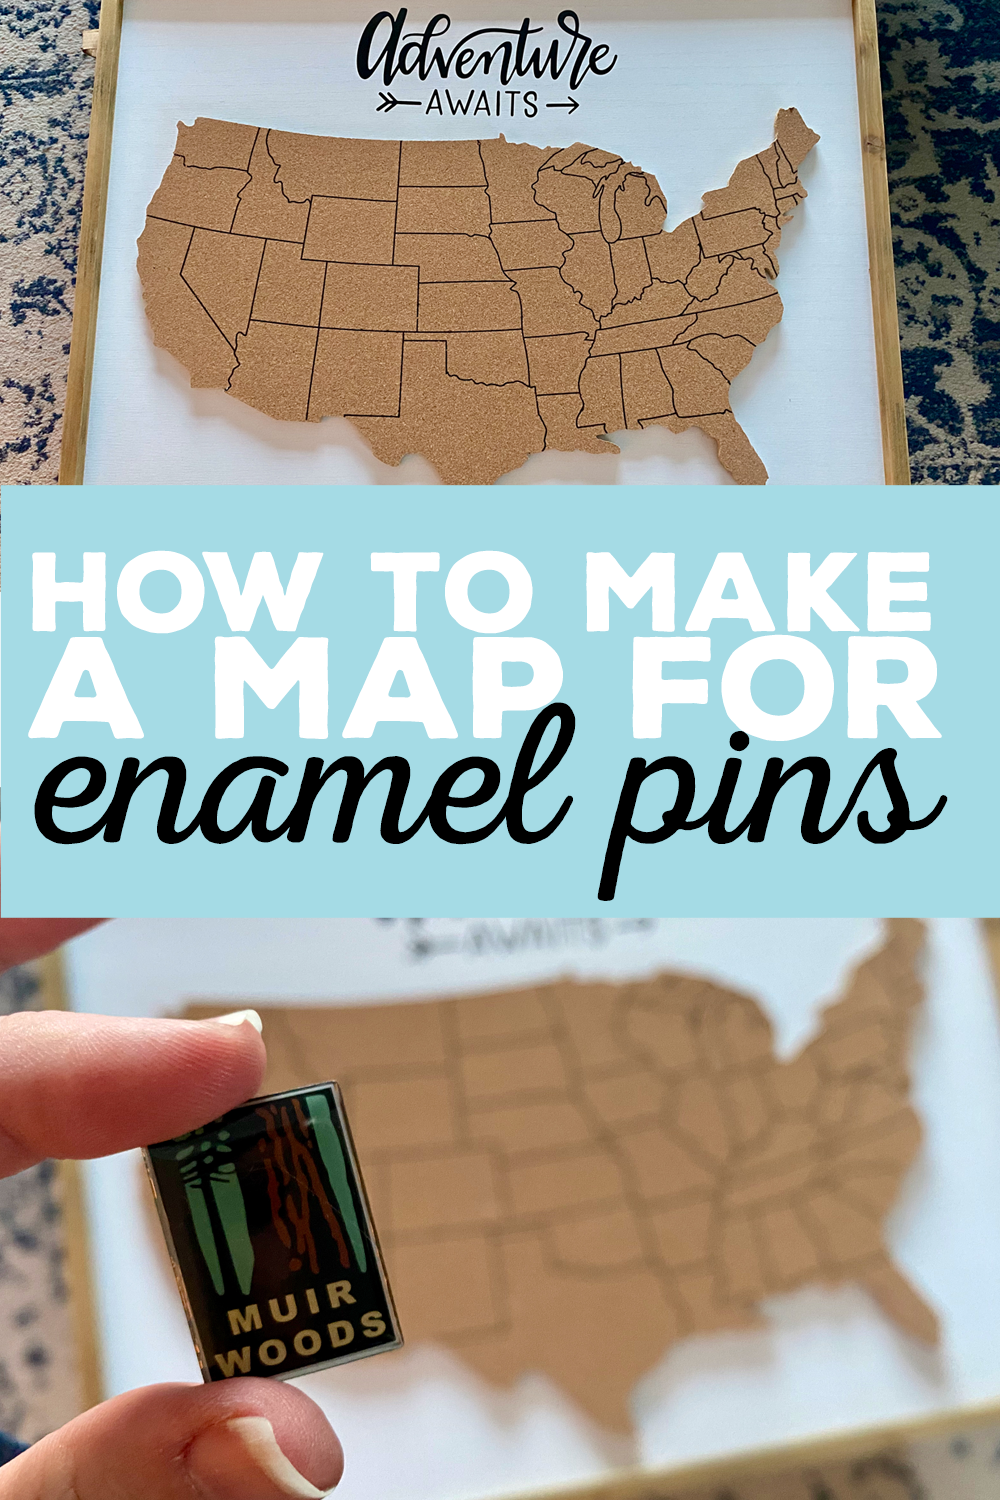
Hobby Lobby sells a cork cutout map of the continental US for only $11. Though this would be perfect to use as is, I felt it needed a little something extra and decided to attach it to a framed wood board. The board I picked was normally $29, but I was lucky to find it during one of their 40% off sales for about $17.

Though attaching the cork to the board would work just fine by itself, I wanted to add a little extra detail to the new map. So I turned to Etsy to find an SVG file I could cut some vinyl with my Cricut and stick to the board. After browsing for a bit I found the perfect design on the shop LetteredBySteph (she has SO many adorable designs to pick from).

Now that I had all my materials it was SUPER simple to attach it all together. First, the vinyl design, then the map. I used a hot glue gun to attach the map to the board, just do your best to make sure it is very secure, it’s a lot of glue. You could also use E6000, but I didn’t have any on hand, so hot glue worked just fine.
Once it was complete I was thrilled with this new map! I knew this would be the perfect Christmas gift for my sister and her pins. To make the board a little more special I purchased a new enamel pin from one of her favorite NPS sites, Muir Woods, and attached it to the map before wrapping it up.


I seriously loved this map so much I plan on making one for myself!